Building a home automation system (part 1)
This is the first part of the home automation series. Here is the second part for connecting the cars to the system.
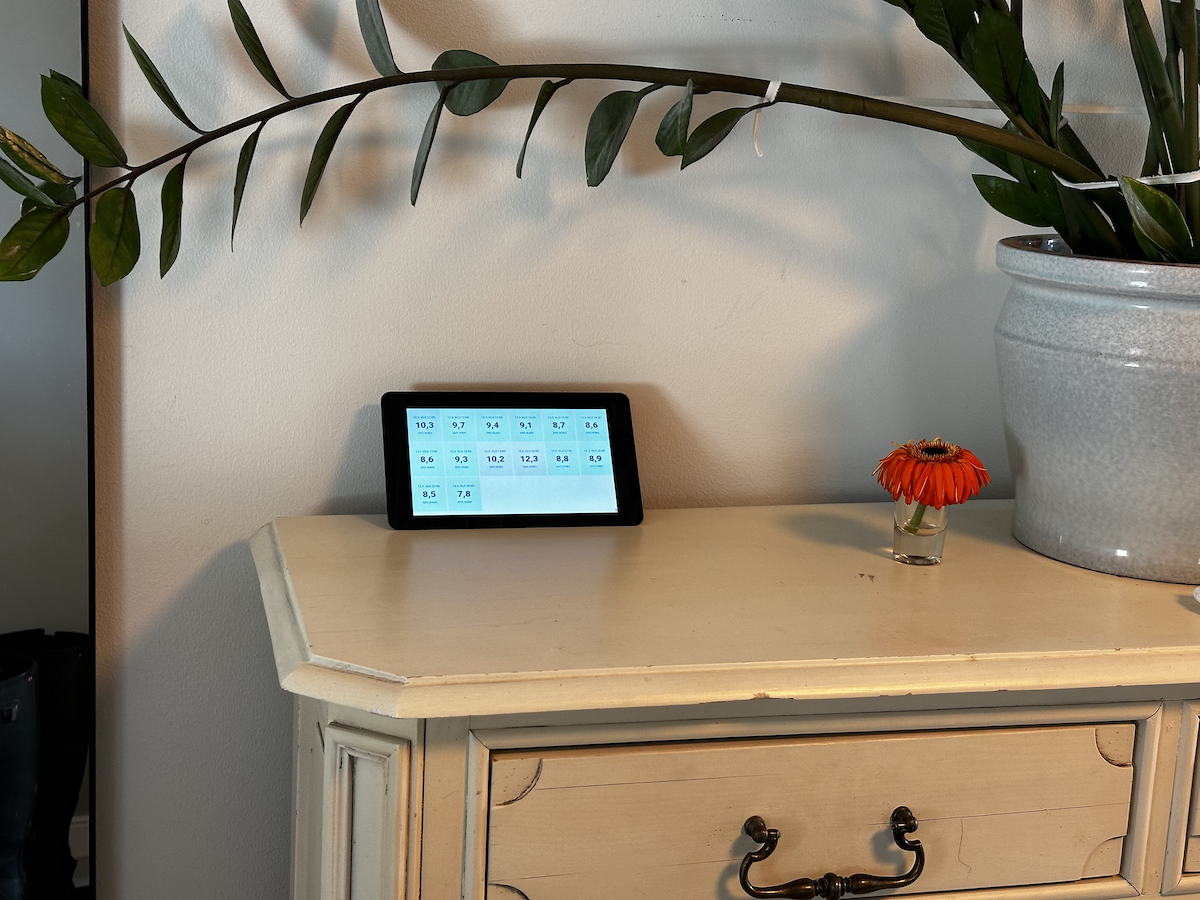
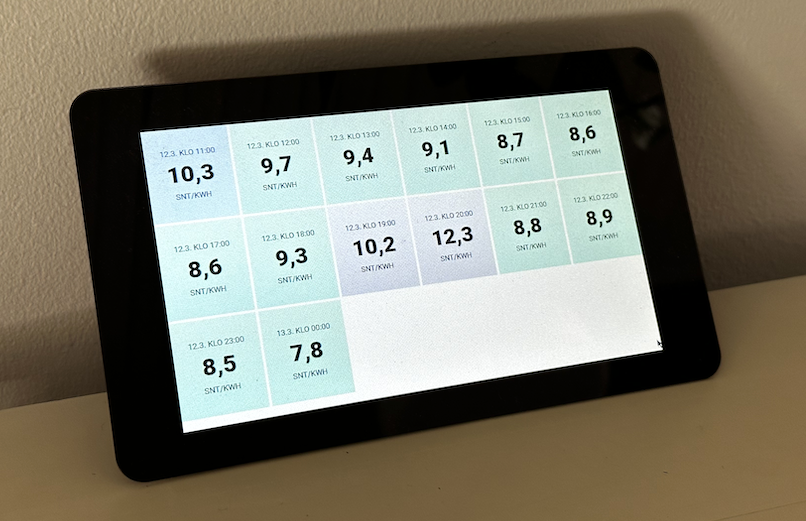
I had a Raspberry Pi and a Raspberry Pi 7" WVGA Touch screen laying around and decided to build a dashboard for displaying the hourly electricity price, mainly for charging the hybrid cars at the correct times. This is a quick tutorial of what I did to get it up and running.

Setup
- Install the Raspberry OS
- The display was upside down, you can fix it with modifying/adding lcd_rotate=2
sudo nano /boot/firmware/config.txt
[all]
lcd_rotate=2
Since I have an older Raspberry Pi 3 B+ I had to use the fake KMS by replacing dtoverlay=vc4-kms-v3d with dtoverlay=vc4-fkms-v3d in /boot/firmware/config.txt.
- Install Ngrok for remote access
ngrok config edit
version: 3
agent:
  authtoken: auth_here
tunnels:
  ssh:
    proto: tcp
    addr: 22
Start it as a service (so that it will relauch after reboot) sudo systemctl start ngrok
- Set a website with electricity prices to run in kiosk mode
sudo nano /etc/xdg/lxsession/LXDE-pi/autostart
@lxpanel --profile LXDE-pi
@pcmanfm --desktop --profile LXDE-pi
@xset s off
@xset -dpms
@xset s noblank
@chromium-browser --kiosk https://spottihinta.fi/linkki/v2/6/38/0/10/20/1/0/D/1/0/1/1/1
sudo chmod +x /etc/xdg/lxsession/LXDE-pi/autostart
- I noticed that the brightness was really bright in the evenings, so I added a cron that dims it in the evening and lights it up in the morning.
sudo crontab -e
0 19 * * * bash -c "echo 20 > /sys/class/backlight/rpi_backlight/brightness"
0 8 * * * bash -c "echo 100 > /sys/class/backlight/rpi_backlight/brightness"
Next up
- Connect it to my cars so that I can start the heater and control the charging:
- Mitsubishi with phevctl
- BMW with something from Github connected-drive
- Add a Zigbee dongle to control the lights (IKEA trådfri), e.g. Sonoff Zigbee Dongle
- Read Ruuvi tags temperature sensors with gokrazy